smelly flower (xianghua), jaketto

As mentioned in the previous post, I'm not a fan of scalloped edges. And as I mentioned also, there are pretty much only scalloped edges in this costume... especially on the jacket. Sigh.


(the front scallops haven't been cut yet)

I didn't realize that it took me an hour to do the scalloping on one sleeve (cutting, ironing, pinning, more ironing...), and it wasn't exactly perfect for me. I now felt a little intimidated by the front edges of the jacket, because the scallops are so fine and the shapes, a little more irregular.


Luckily, I found this at the fabric store!!!


Thank you Aleene, again, you have made my life easier. No fray glue! So what if it took me an hour to cut the scalloped edges? I don't have to bind them. I would rather apply this glue to my raw edge any day than bind off these edges!


Though, it is too bad I didn't pick up this glue before I singed the edges from my chiffon overlay.

Gintama cosplay video from Tokyo 2009


cosplayers gathered on New Year's Day 2009 in Tokyo for Gintama cosplay

Gintama Cosplay photos collection part 1

You can check some Gintama Cosplay photos below, including the characters Odd Jobs Gin,Gintoki Sakata,Shinpachi Shimura,Kagura,Sadaharu,etc. hope you can find some ideas about how to cosplay Gintama


smelly flower (xianghua), bustin' out

So I wasn't going to post about the making of the bustier either, but it took me about 7 hours to construct it, which probably deems it worthy of its own blog post.

This was supposed to be the easiest part of my costume, but I underestimated the amount of work that would need to go into it... the binding, the lace (yeah, that lace that took me 2 hours to DYE.), the airbrushing.... I also messed up at one point and that cost me an hour and a half. But even as I'm pulling my hair out, if I wasn't pulling my hair out at some point in this costume, there would be no reason for me to work on it.

This bustier was comprised of 3x the number of components compared to my Lady GaGa costume. Compared to this costume, my Lady GaGa costume was a cinch. This current costume is probably edging towards 150 hours. (also 2x the amount of time I spent on the GaGa costume) I haven't even finished sewing the shorts or jacket yet. I spent too much time on the little details in the beginning and should have focused on the major components of my costume, but at least now I know how to balance my time between accessories and the clothing.

The bustier is made up of 3 parts:
1. Self fabric
2. Lining top
3. Lining inside


If you noticed in my sketch reference, the lining (or what I'm calling the lining) is longer than the self. I hate seeing messy, unlined reverse sides, so I cut another piece (lining 2) so I could conceal all my stitching. Also, I needed this second piece to create a casing for my boning.

I had the most difficult time sewing the scalloping at the edge of the lining. The first time I sewed it, the scallops weren't obvious enough (the curves were not very visible). I had to rip out the entire seam and restart. I reshaped the scallops, cutting them deeper, and left a 1/4" seam allowance to clip and properly finish the edges. That part alone took me over 2 hours. I am not a fan of scalloped edges now. Unfortunately for me, every other edge on my costume is a scalloped edge.


Here, I'm cutting the bias binding from an ultramarine poly satin. You can buy pre-packaged binding at your local fabric/crafts store, but I needed a specific color, texture and width. I usually like to coordinate the color or texture with the rest of the garment, so I prefer to make my own binding if I'm looking for something in particular.


The airbrushed bustier. I used a total of 3 air cans so far. I switched back and forth between the air cans and air compressor, because my compressor actually was not at the correct pressure for use with Copic markers and that made my life very difficult. You can read about the Copic markers and airbrushing system here.

I sandwiched the lace between the lining and self at the top edge...


Oh, and here's my pincushion, in case you ever wondered.

smelly flower (xianghua), a-stir

I wasn't planning on posting about the trim on this costume, but I thought it would be worthwhile to share my little foray into dyeing trims.

After trips all around the shops on Maple Street in downtown and Mood Fabrics, I couldn't find the 
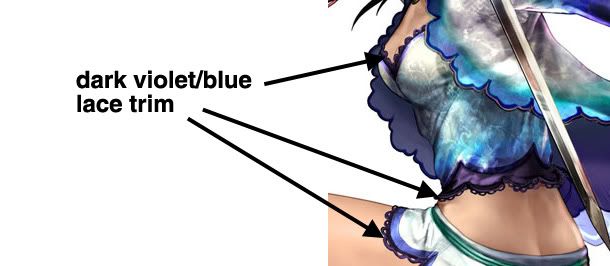
dark violet/blue lace trim I needed for the bustier. I found a white that I loved, as well as a lilac that I felt was a close second. Since I don't have much time left to finish this costume, I thought I could settle with the second lace.


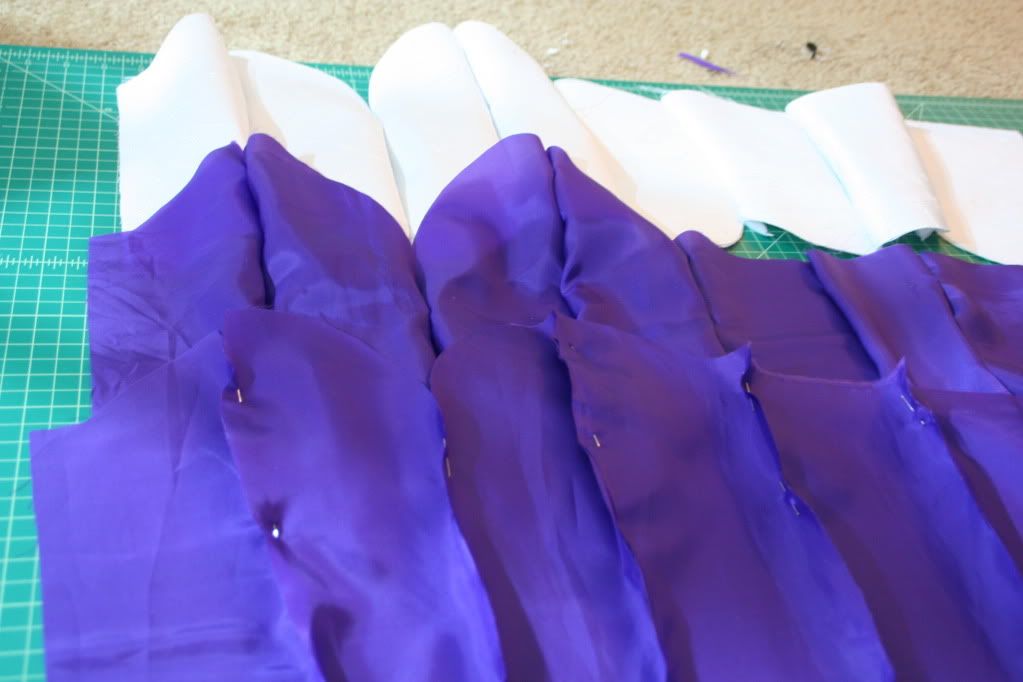
But when I matched it to my bustier lining, the color did not complement it as I had hoped, so I either had to look for another lace in the dark violet/blue, or dye my lace.

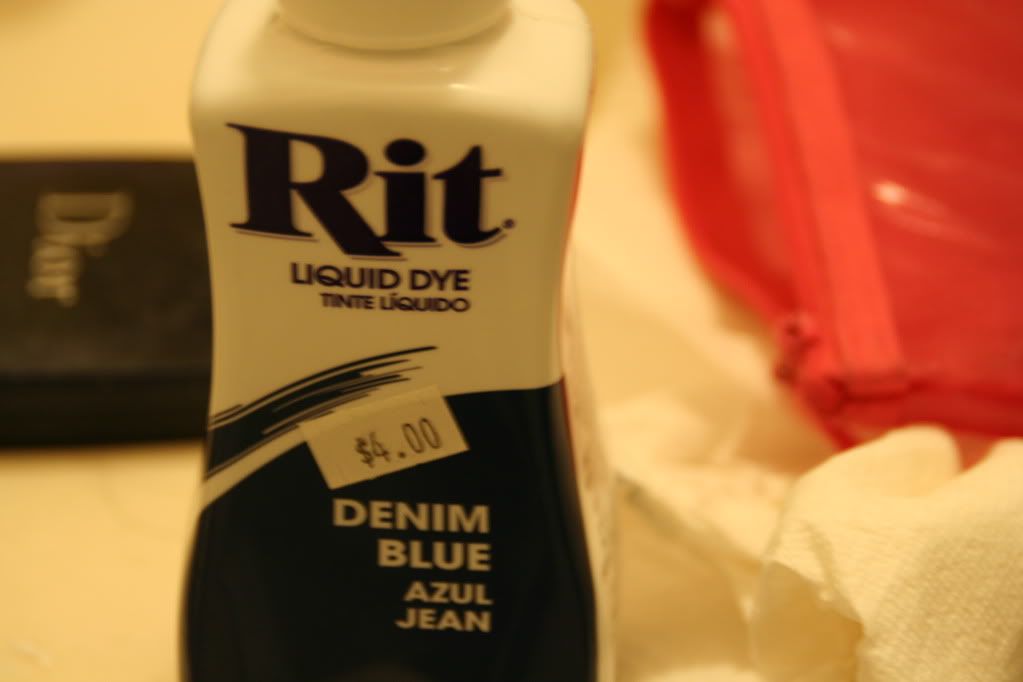
I bought a bottle of RIT dye a while ago for another project I didn't finish, in a dark denim color. I wasn't sure if my trim would absorb the dye properly, since neither of my trim were of natural fibers. They were both nylon / nylon blends.


I previously bought 4 yards of the lilac trim, because I "settled" (meaning, I got lazy and didn't want to bother with dyeing the trim), but went to look for a back-up in case the trim didn't absorb the dye. I bought the dark blue and 4 more yards of the white I liked. I don't like the pattern of the dark blue but the color is closer to my ideal.


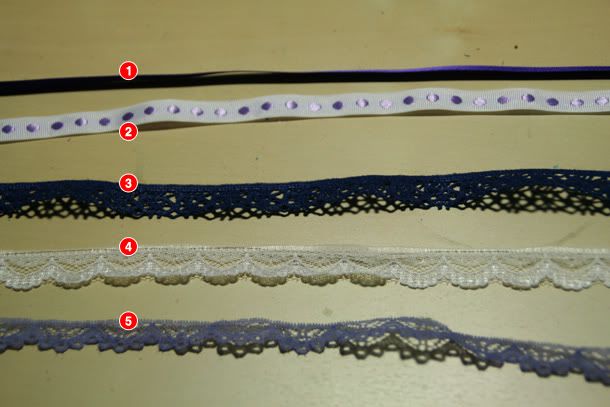
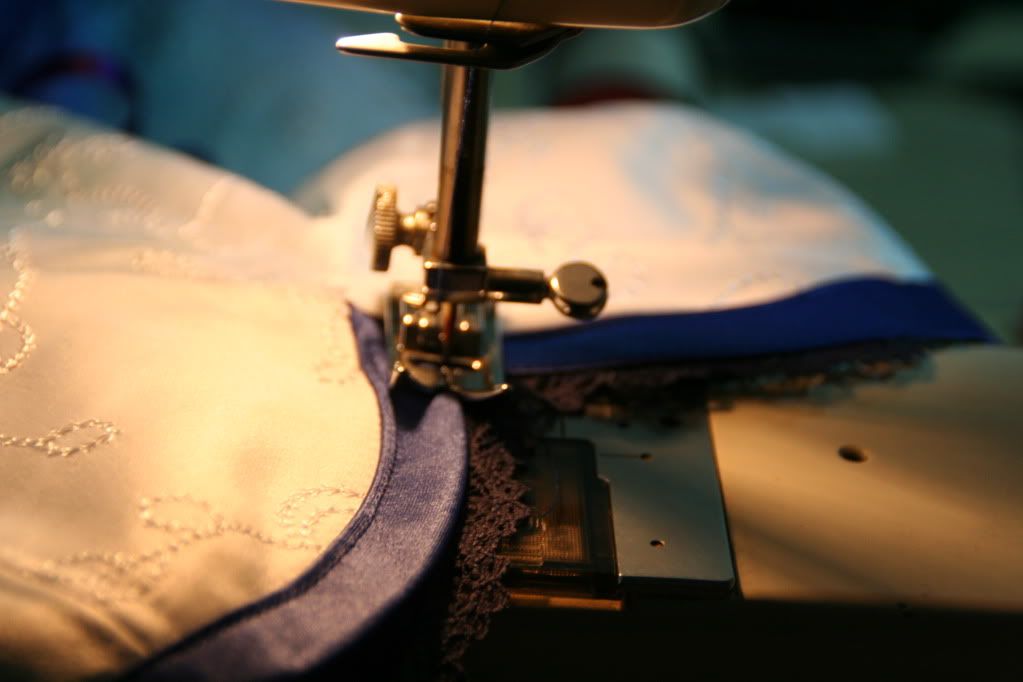
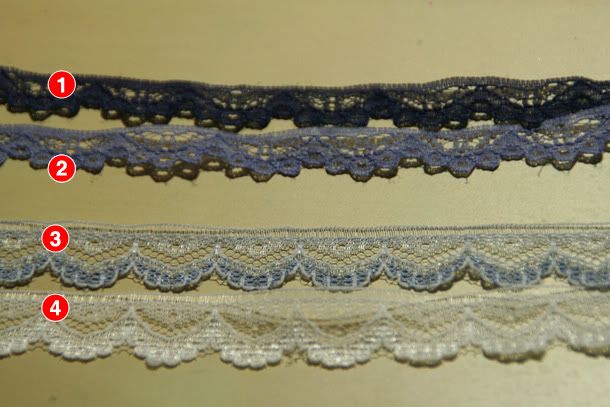
1. ribbon for the front of the bustier
2. hanger tape
3. dark blue lace. Don't like this pattern but it's the right color.
4. white lace. Love the pattern!
5. lilac lace. Pattern is good but it's the wrong color.

If you've ever hand-dyed anything, you know there's lots of agitation going on. I threw in my tiny, 13" piece of white lace and lilac lace into a small container, and stirred them nonstop for 30 minutes. A very boring, unexciting 30 minutes in which I forced my friend to entertain me over the phone, while I stirred my lace in the bathtub.


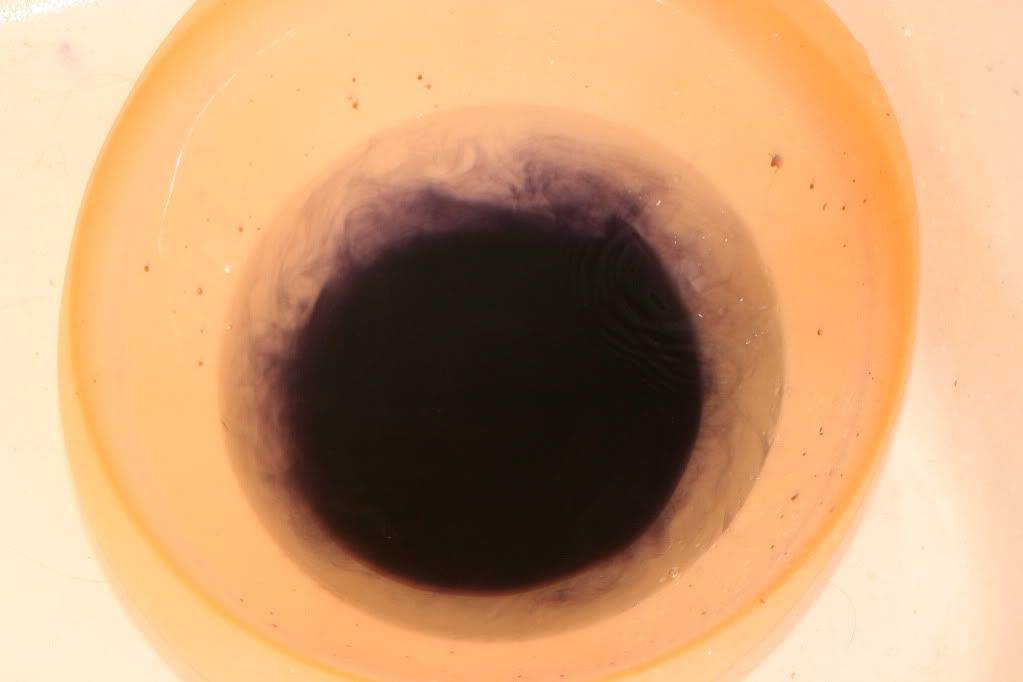
Dye mixed with HOT water.

After rinsing, washing and blow-drying the lace, I was overjoyed! Sad, I know, it's just lace. A 1/2" wide piece of trim people will blink and miss. But now you see this blog maybe appropriately named. In my photos below, the "before" lace and "after dye" lace.


1. Lilac lace after dye
2. Lilac lace before dye
3. White lace after dye
4. White lace before dye

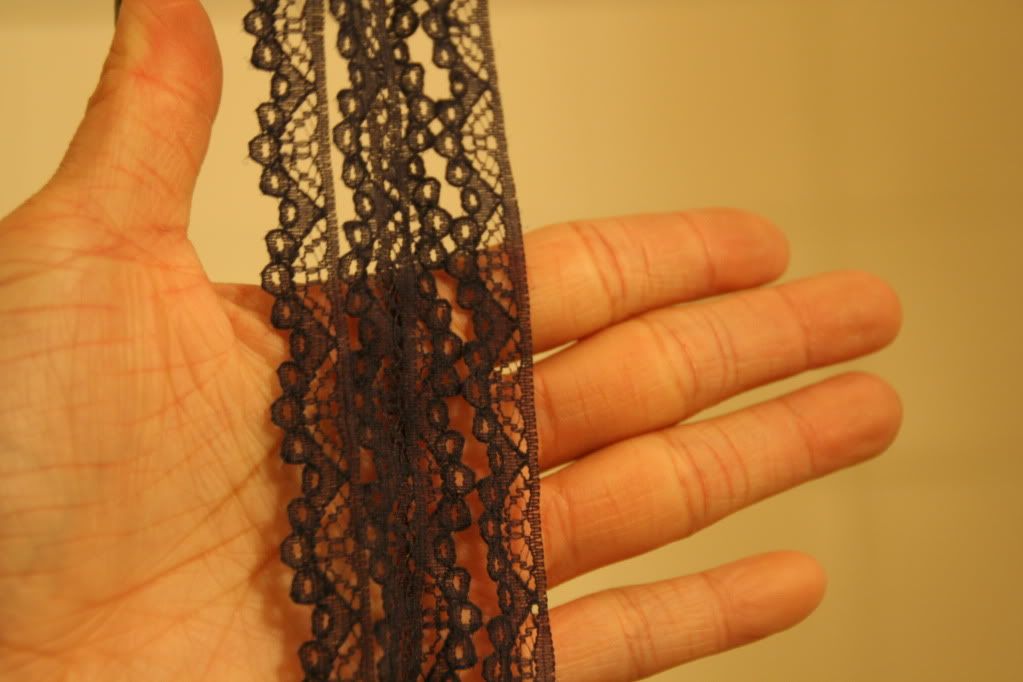
The white did not take the dye very well at all. It must have been a poly/nylon blend, with more polyester.

The lilac probably had some cotton blended into it, because it took the dye but wasn't completely saturated with color. But guess what? THIS WAS EXACTLY THE SHADE I WANTED!

I quickly dyed the rest of the 4 yards I bought 2 weeks ago and stirred lace in my bathtub for another 40 minutes.

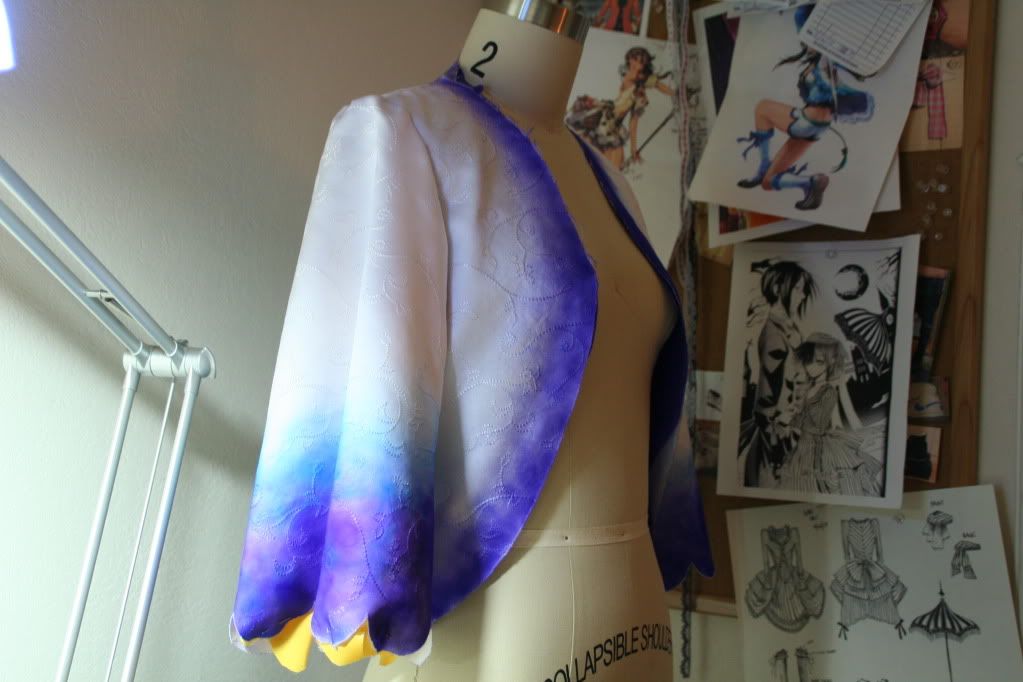
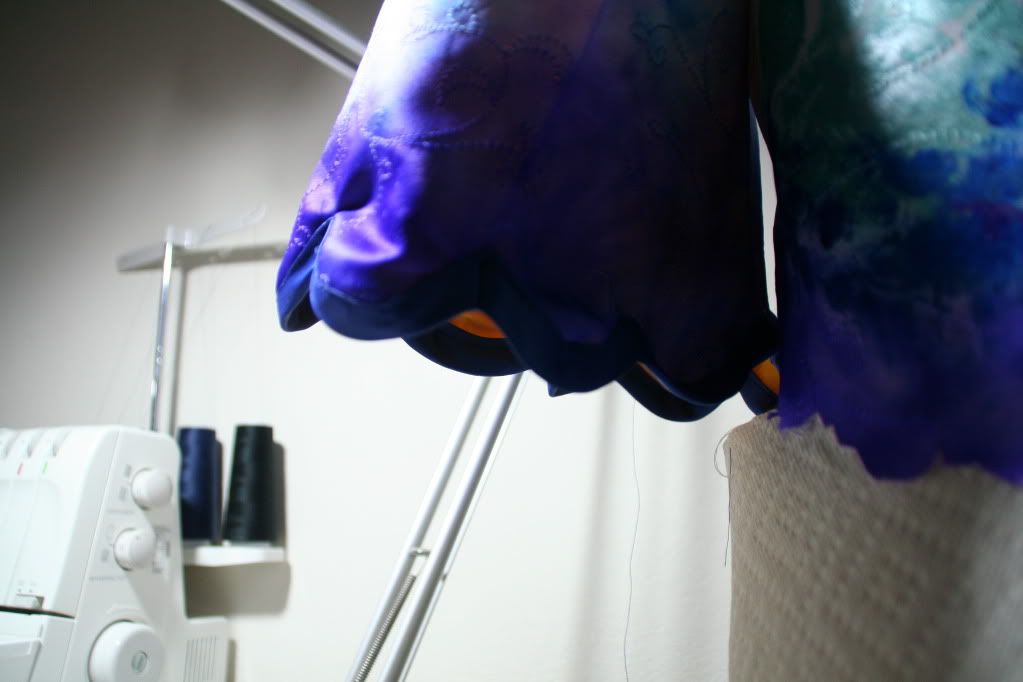
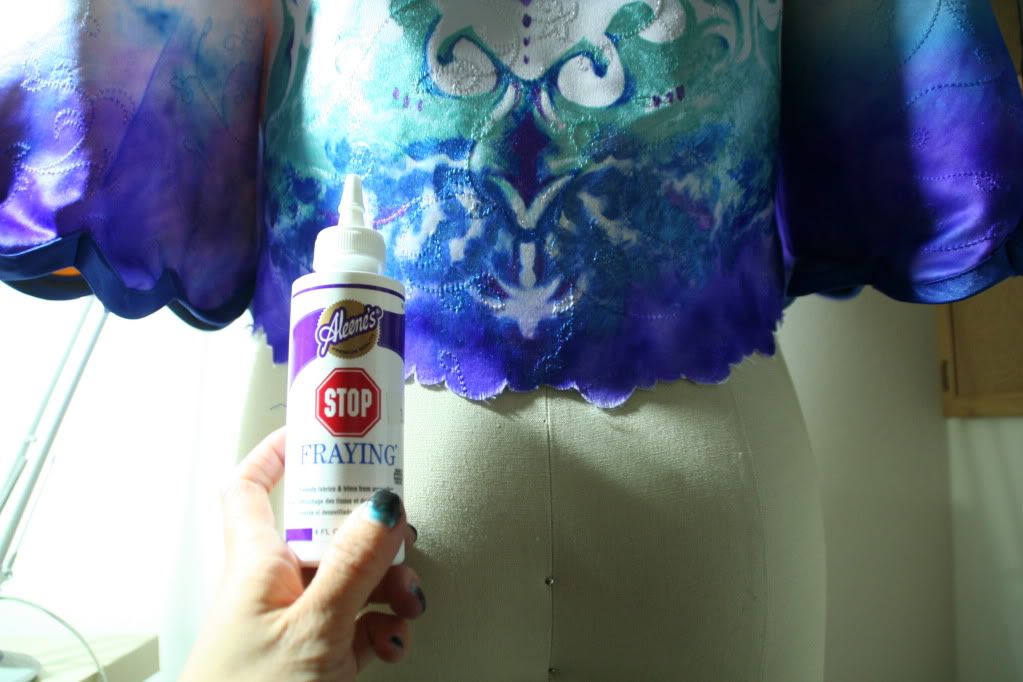
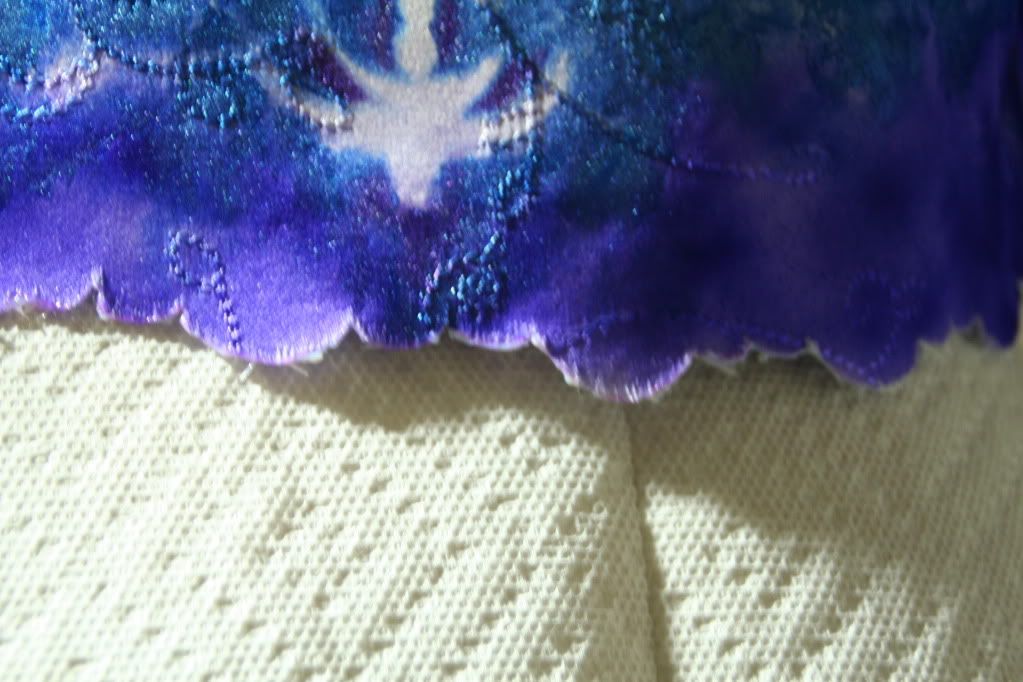
Here's the finished result:

the vincent black shadow

Going to concerts, like getting tattoos, can be addictive for the soul. Alright, maybe you might disagree with me on the tattoos activity, but enjoying live music, for me, is so soothing for the soul. I love basking in the world the musician is sharing with me, and how the music invades my ears and pushes the stresses of reality away. That being said, some concerts are so powerful for me that I have to enjoy them twice. There are only a few artists I will bother to see the second time, two of which include The Faint (I've never danced so hard in my life) and The Vincent Black Shadow.


Image via tvbsmusic.com; artwork by Cassandra Ford

The Vincent Black Shadow hail from Vancouver, and I'll have to thank an old coworker for turning me onto them. I guess in a way she provoked me into listening to them, as she said, "Oh. The lead singer is Asian and tiny. Reminded me of you." Unfortunately, I don't sound like Gwen Stefani and I can't pull off dark eyeshadow like TVBS' vocalist, Cassandra Ford.

After listening to "Metro" in 2008, I was hooked. I've been a fan ever since, and I must admit, Cassie's voice is much more powerful than Gwen's, and she spits out a lot more spunk. (Sorry, Gwen, I'm a fan of yours too though!) To add to her vocal prowess, the guitarist is one of the most animated (and skilled) musicians I've ever seen on stage, and he has a great sense of humor. After attending one of their live shows, I could easily see the band's shining chemistry.


"Metro" has a hot chick, monsters and guns. What more can you want?


One of the songs from their last album, "El Monstruo" - Don't Make Me So Mad

It's a shame that such a great band hasn't gotten the recognition they truly deserve, but I'm hoping great things happen for them in the future...!


Image via rockpulse.co.uk

Official site: tvbsmusic.com
On myspace: myspace.com/tvbs

Here I am with Cassie and Rob... (2008)

Cosplay Costumes


Cosplay Costumes

Costume Accessories


Costume Accessories

Costume Wigs


Costume Wigs

Kids Costumes


Kids Costumes