I used my little bit of extra time to add more details to the accessories. A lot of this may seem time-consuming, and it really is, but it's strangely a stress-reliever and I get to use my noodle-noggin to think "out of the box", to figure out how to replicate the 2D concept into a tangible object. I think it's kind of exciting. Ok, who am I kidding, I think it's insanely exciting which is part of the reason I cosplay. Anyway, digressing here again so I'll explain my processes through photos again:
1. That weird bust piece...
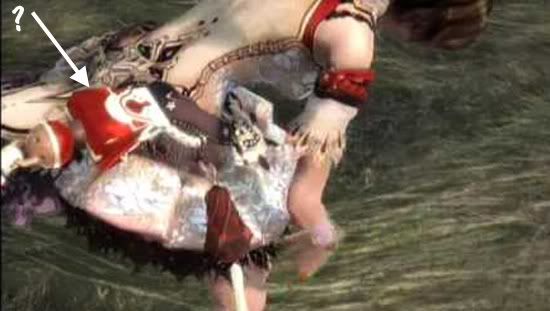
(reference photo)
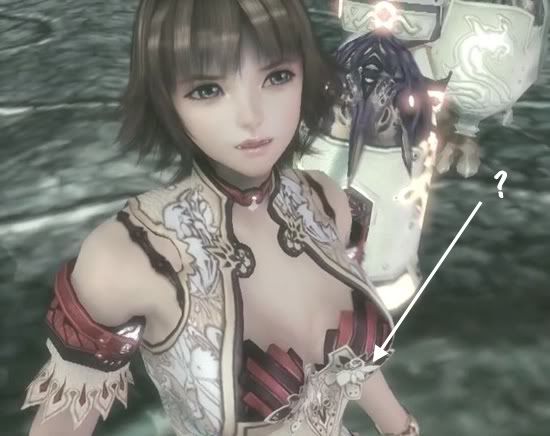
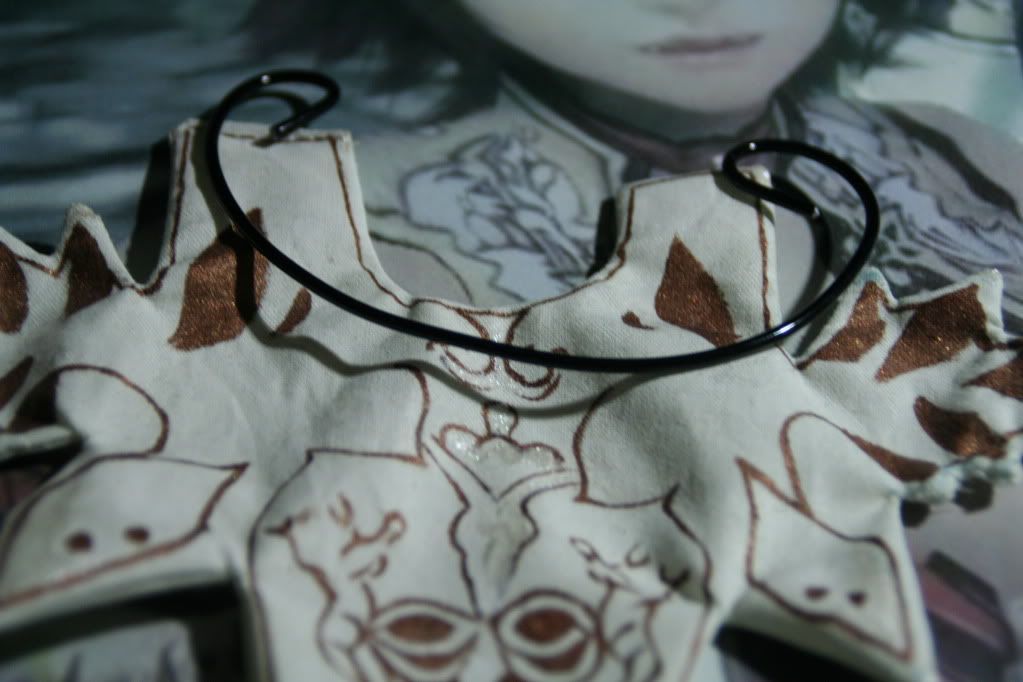 After looking at the screencaptures again I realized I probably shouldn't miss out on this detail because I have this extra time to add it into the costume. I wanted this weird piece to "stick out" and be stable, so I used some craft wire twisted into the appropriate shape.
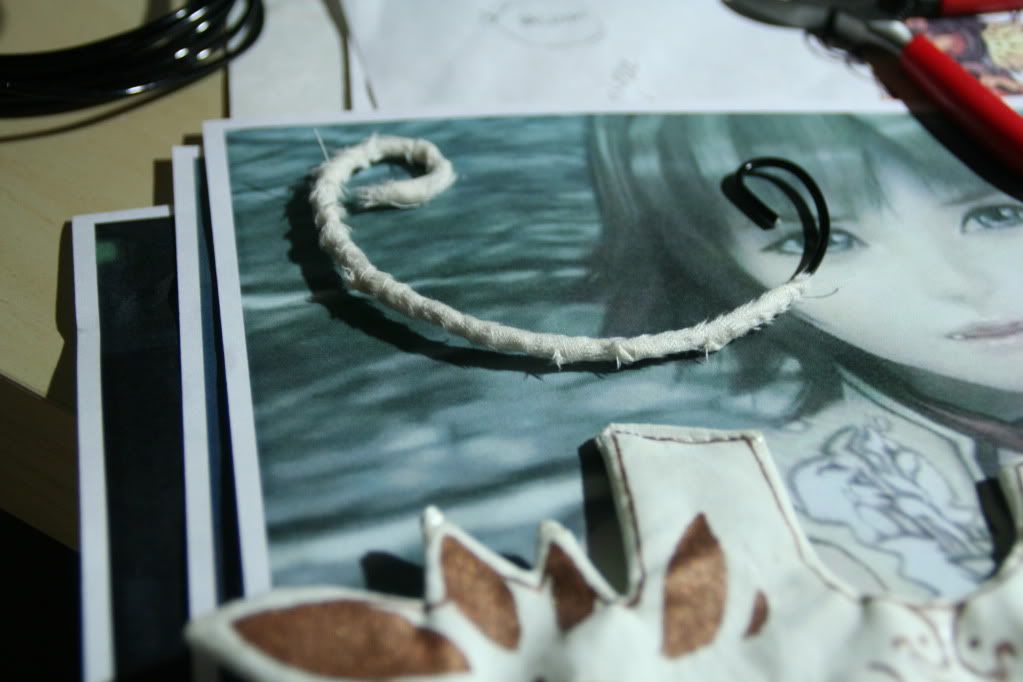 I cut an 1/4" width strip of muslin, applied glue onto the wire and wrapped the wire in muslin.
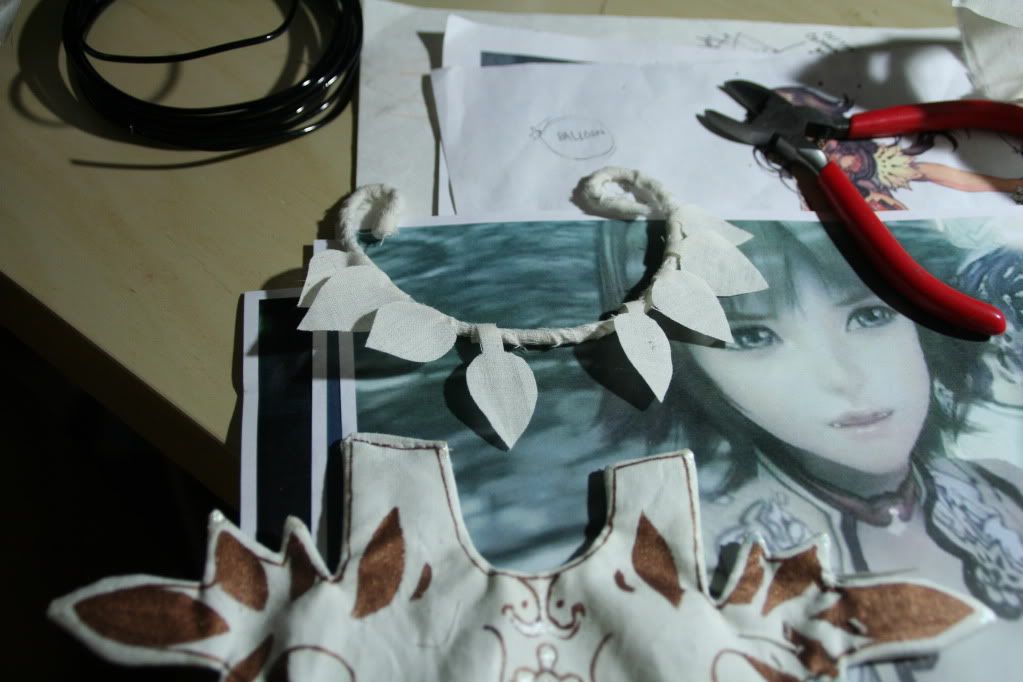 I cut leaf shapes from the muslin as well, leaving LONG stems to wrap around the wire (also glued).\
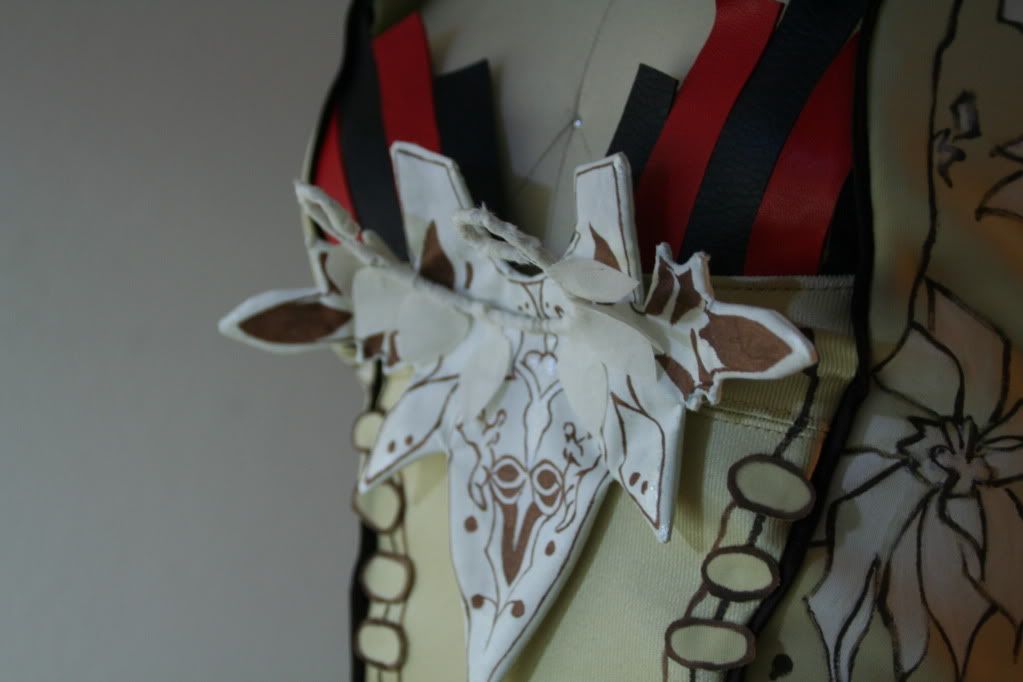
I then tacked this piece to the weird bust piece.
2. Weird bag .... thing attached to belt
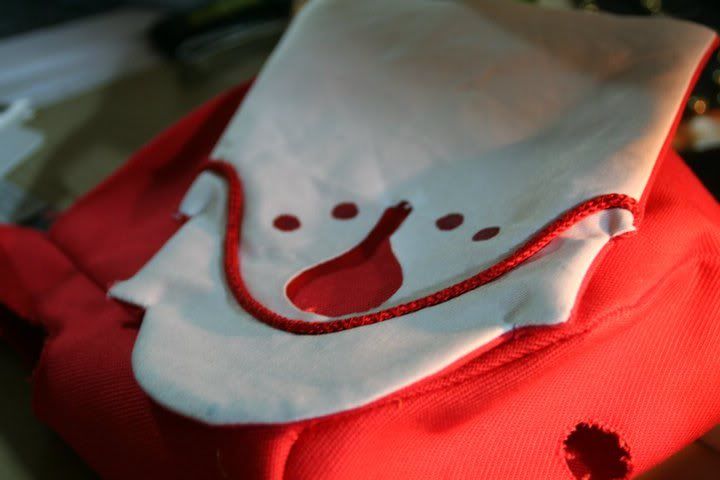 Firstly I realize I didn't take enough progress photos of this, but I literally just made a mini bag. The red is a thick and sturdy canvas, the "flap" is canvas with a shiny twill face. The oblong shape in the middle was cut out and the little circles were painted. The cord was zig-zag stitched.
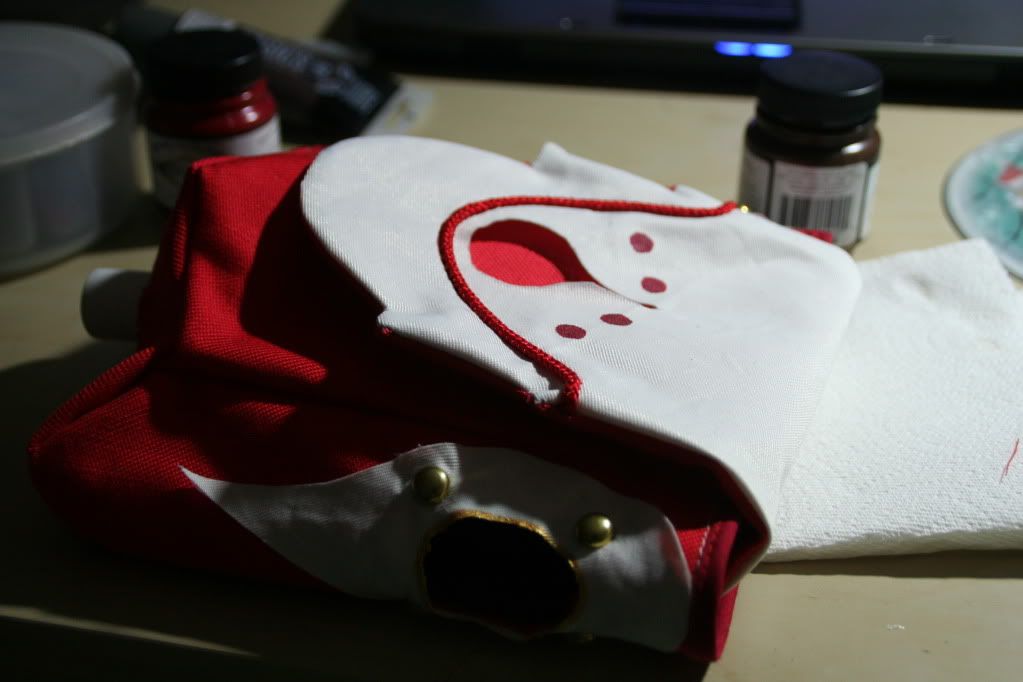 I used dome studs to attach these teardrop shapes onto the side of the "bag". I sewed the flap to the back as well.
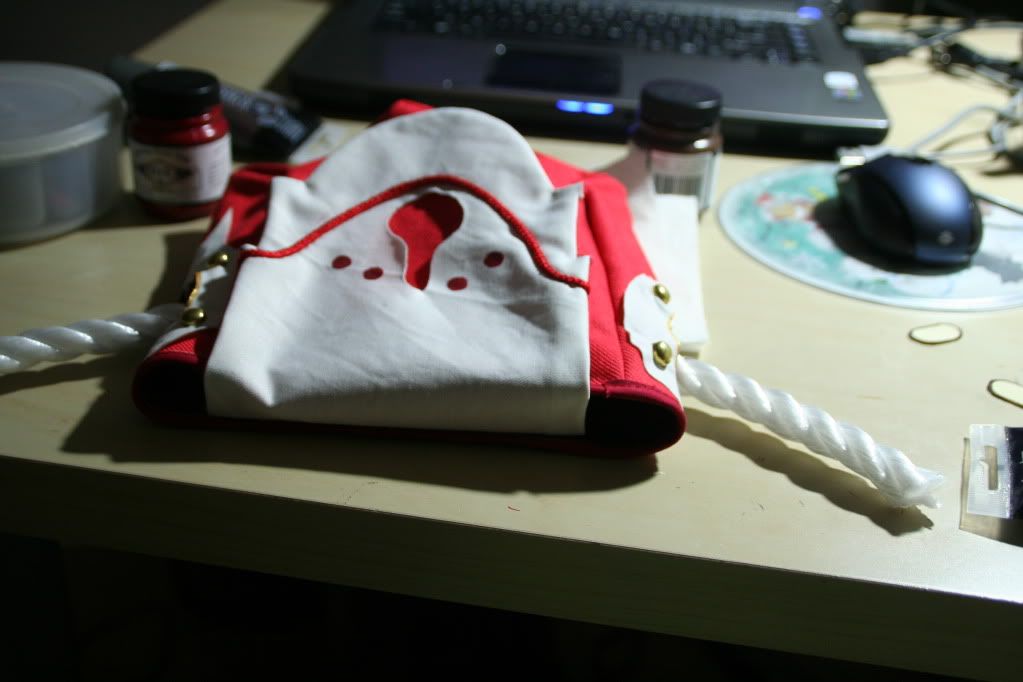 I had cut holes at the sides for the rope to go through. There is also a hole at the bottom where I attached pipe tubing.
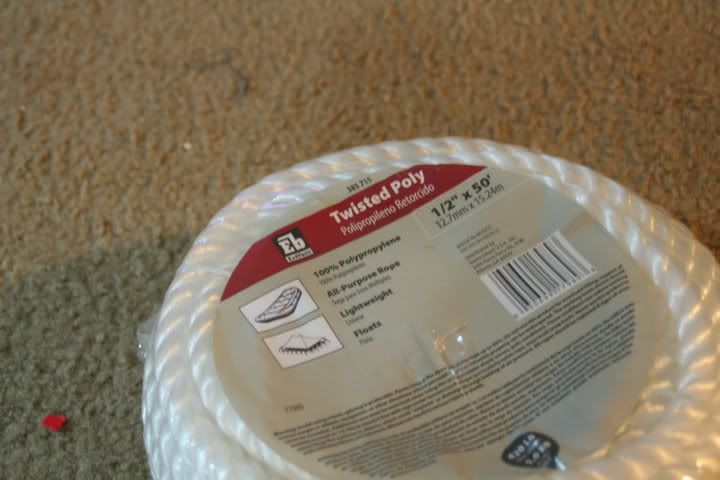
I ended up buying a ton of supplies from Home Depot. Let me tell you, that is not the place to be when you're a young Asian girl by herself. No bueno.